Cinnamon Roll Cake Pops
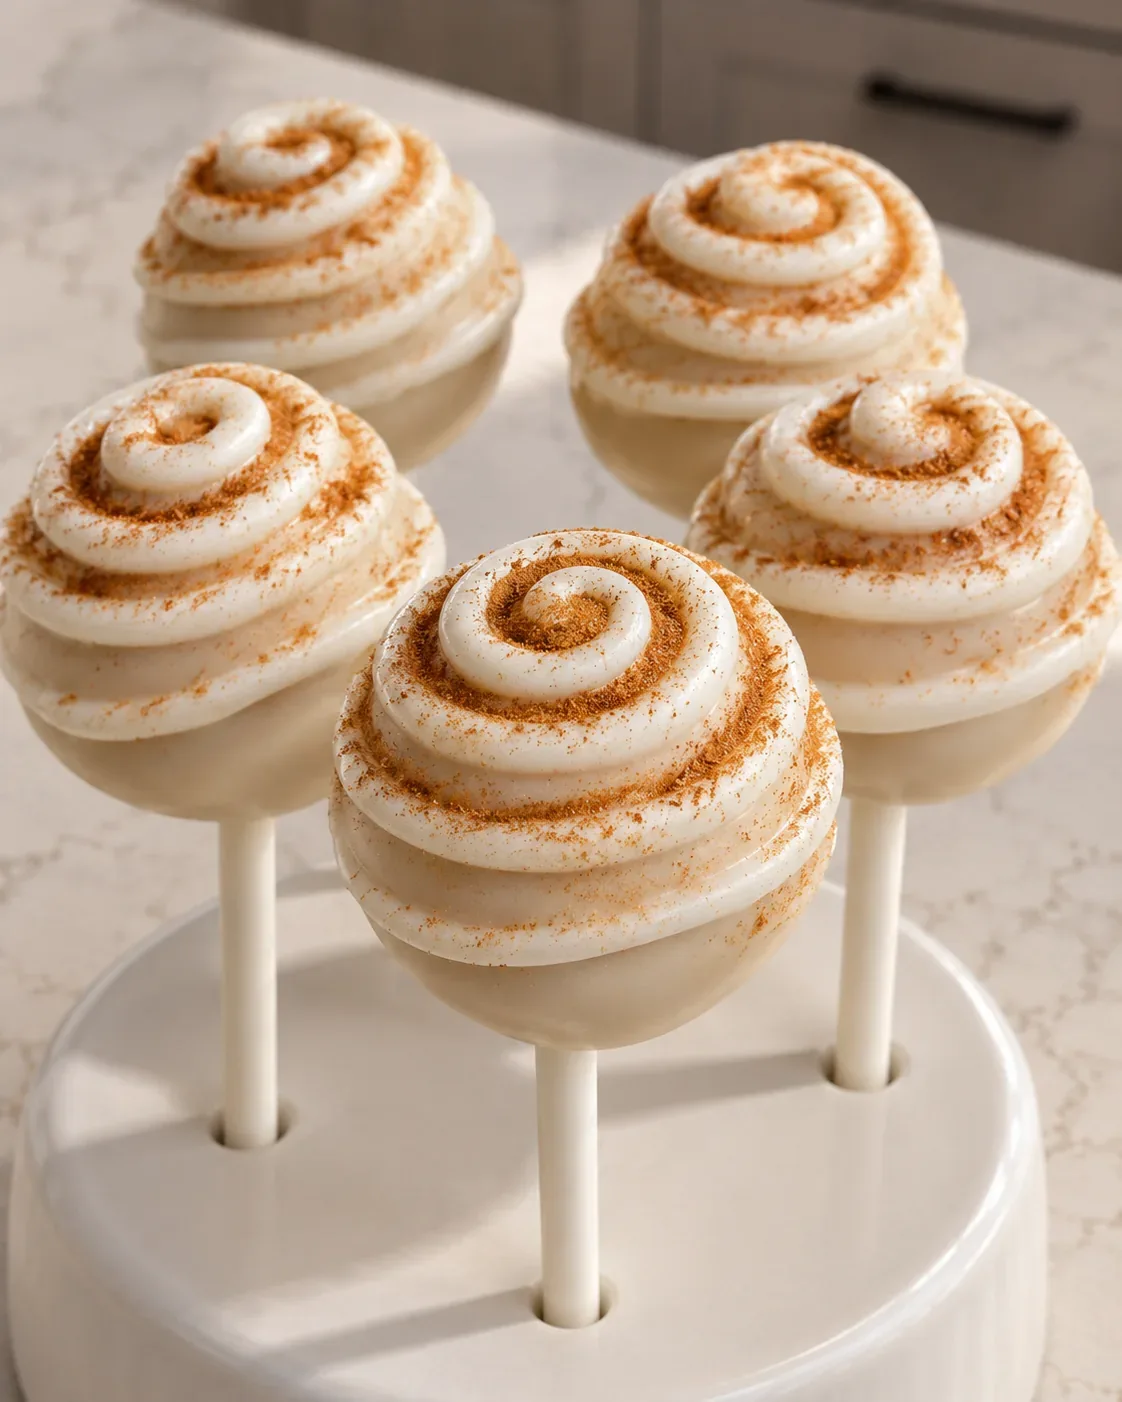
Cinnamon roll cake pops turn baked cinnamon rolls into small treats with a soft cinnamon-roll and cream-cheese filling beneath a white candy shell. A piped white spiral and a light dusting of cinnamon give each one a little cinnamon-roll look.
This version starts with refrigerated cinnamon rolls. Once baked and cooled, they are crumbled and mixed into the filling. You shape the pops by hand, so there is no special mold or cake-pop maker to buy.
What goes into cinnamon roll cake pops
The cinnamon rolls bring the bread, cinnamon, and sweetness. Cream cheese, powdered sugar, and the icing from the can help turn the crumbs into a mixture you can roll.
Use the specified 12.4-ounce can for this batch. A larger can or a tub of frosting would change the balance. Set the included icing aside before baking; it belongs in the filling.
The coating is white confectionery coating, sometimes sold as candy melts or melting wafers. It provides the pale shell and piped decoration. It is not the same ingredient as real white chocolate. Follow the directions for the product you buy. Wilton explains the uses of candy coating.
Before you start
Makes: About 24 small pops, depending on portion size.
Baking: Follow the cinnamon-roll can for the temperature, pan, and baking time.
Chilling: Start with about 30 minutes, then check that the centers are firm. Allow extra time for cooling, dipping, and decorating.
The filling quantities and approximate yield come from Ree Drummond’s Cinnamon Roll Truffles. The sticks and white spiral finish are adaptations.
You will also need: 24 cake-pop sticks, a lined tray, a food processor, a tablespoon scoop, a deep microwave-safe dipping cup, a piping bag with a round tip, and a cake-pop stand.
Stick anchoring and dipping follow established cake-pop techniques from Sally’s Baking. The extra coating needed for the spirals depends on how thickly you pipe them.
How to make the white spiral finish
The raised lines are a separate layer over the smooth shell. Keep this piping coating white, then add cinnamon as a light dusting.
Melt some extra coating according to its package. Let it cool just enough to hold a thick line, then put it in a piping bag with a round tip. Try a short line on parchment first. If it runs flat, let it cool a little more. If it will not flow, gently rewarm it.
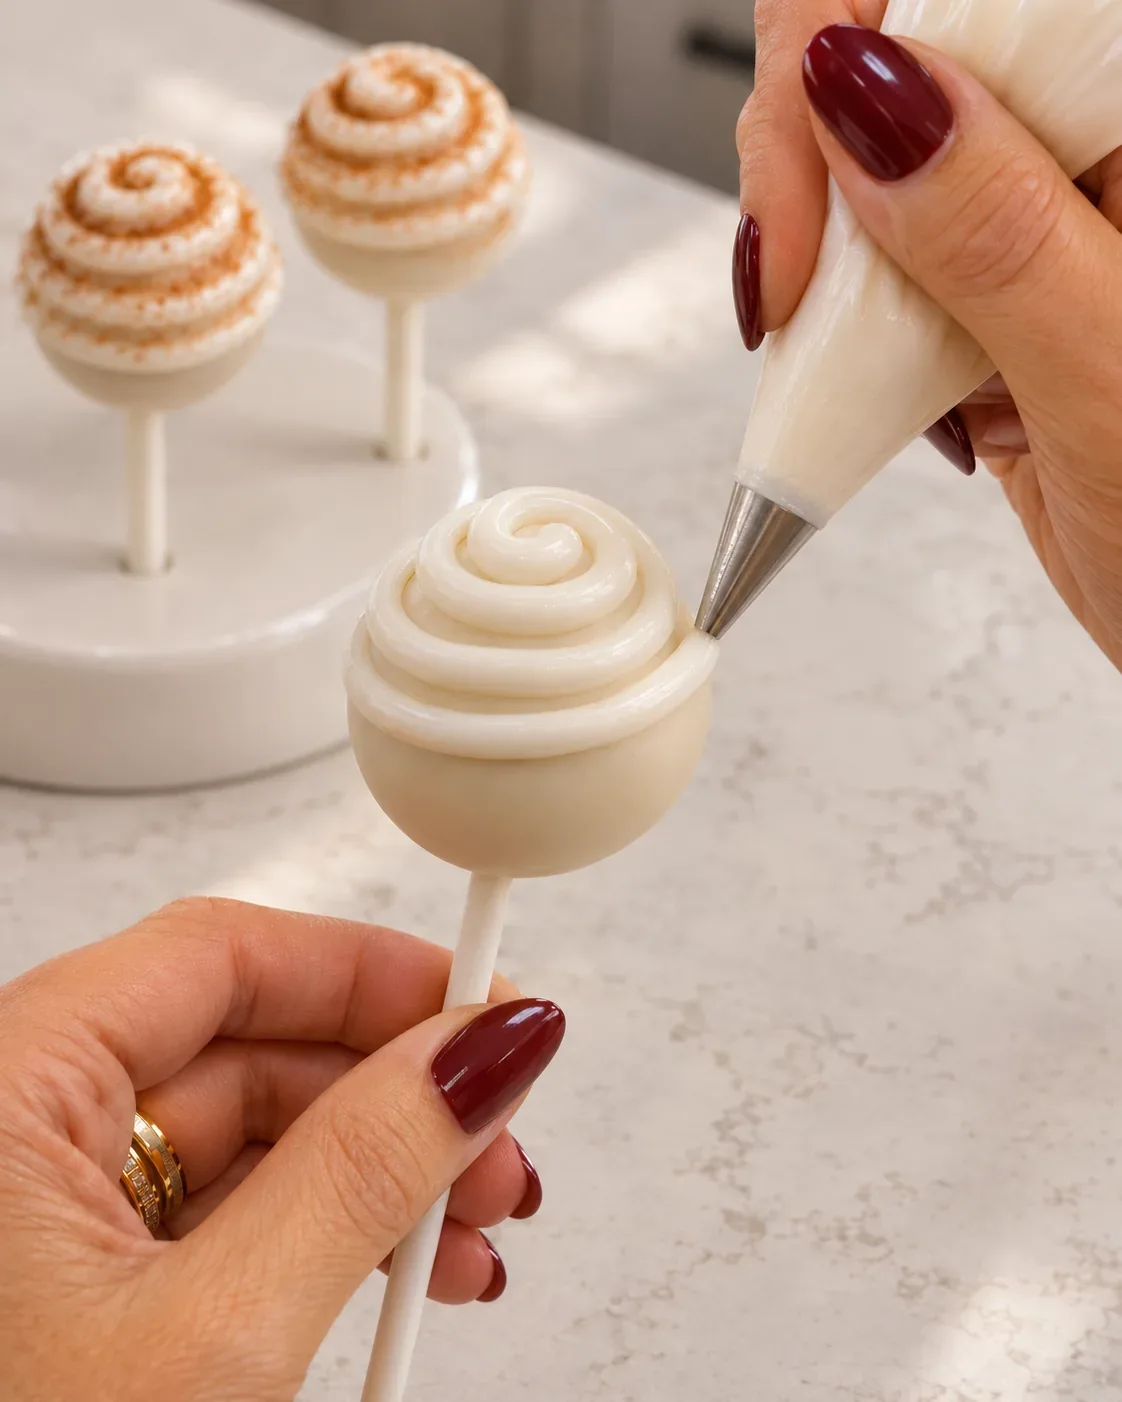
Hold a set pop by its stick. Start with a small coil at the top, then widen the circles over the rounded top. Slowly turn the stick and continue piping around the sides, working toward the bottom. Aim for raised coils over most of the pop, with narrow gaps between them. Keep the coating clear of the stick.
Add a very light cinnamon dusting before the spiral firms up. Try the finish on one pop before decorating the rest. Thick coils use more coating than a fine drizzle, and the lines should stay in place when you turn the pop upright. Joy of Baking describes piping coating onto set pops.
Help with dipping and shaping
A firm center and a coating that flows smoothly make the pops easier to handle. Check those two things before dipping the whole batch.
- The center slides off the stick: Check that the ball is firm, the stick reaches halfway in, and the coating around the stick has set. Large, heavy balls are harder to handle.
- The mixture smears instead of rolling: Chill it before trying again. Do not add a tub of frosting; excess binder can make cake-pop mixtures too soft.
- The shell cracks: Avoid dipping frozen centers into hot coating. Keep the centers firm and the coating fluid rather than hot.
- The coating is thick or grainy: Check the package’s melting and thinning advice. Keep water out and avoid overheating. Do not try to thin it with milk.
- The spiral disappears into the shell: Let the shell set first, then test the piping consistency on parchment.
These checks draw on Joy of Baking’s shaping guidance and Wilton’s coating guidance.
Storage and making ahead
Once the coating is firm, keep the pops in an airtight container in the refrigerator at 40°F or below for up to four days. Leave space around the raised spirals so they do not rub against one another. Storage guidance from Ree Drummond’s Cinnamon Roll Truffles.
For serving, bring out a small batch and keep the rest chilled. Because the filling contains cream cheese, limit the total time out of refrigeration—including decorating and serving—to two hours, or one hour when the temperature is above 90°F. FoodSafety.gov refrigeration guidance.
For a head start, freeze the centers before adding the coating. Thaw them in the refrigerator, then dip and decorate. Freezing guidance from Ree Drummond’s Cinnamon Roll Truffles.
Common questions
Several treats share the cinnamon-roll cake-pop name. These answers explain which ingredients and tools this version uses.
Can I make cinnamon roll cake pops with cake mix?
Yes, a baked-cake version is possible. It uses cinnamon-flavored cake crumbs and frosting in place of baked cinnamon rolls. It needs its own cake-to-frosting balance, so do not swap a whole boxed cake into this recipe. Let Them Eat Gluten Free Cake’s published cake-based version demonstrates that different approach.
Can I use cinnamon rolls made from scratch?
Use the specified can for this recipe. Homemade rolls vary in size and moisture, so they may need different amounts of cream cheese and icing.
Do I need a cake-pop mold or cutter?
No. Shape the filling between your hands, then pipe the spiral onto the coated pop. A cake-pop baking machine is not used in this method.
Can I leave out the sticks?
Yes. Make cinnamon roll cake balls by coating the chilled centers with a dipping utensil and setting them on parchment. Add the same white spiral after the shell sets.
Can I use real white chocolate?
Real white chocolate can be used for cake pops, but it behaves differently from confectionery coating. This finish is written for white candy coating; switching products may change the color, flow, and set. Sally’s Baking discusses both coating options.
More small desserts to share
For another cinnamon and cream cheese dessert, try these pumpkin cheesecake bars with crumble topping.
For a dessert board with fruit, cream cheese caramel apple dip gives you a scoopable option alongside the pops.
Cinnamon Roll Cake Pops
Cinnamon roll cake pops made with baked cinnamon rolls, cream cheese, and a white candy shell. Includes spiral decorating steps and tips for dipping.
Ingredients
- 1 12.4-ounce can refrigerated cinnamon rolls with cream cheese icing, including the icing
- 2 ounces cream cheese, softened
- 1/4 cup powdered sugar
- 1 teaspoon ground cinnamon, divided
- 10 ounces white confectionery coating, plus more as needed for dipping and raised spirals
Instructions
- Bake and cool
Keep the icing aside. Bake the rolls as directed on the can, using the stated pan and oven setting. Cool completely before making crumbs.
- Mix the center
Break up the rolls in a food processor. Work in the cream cheese, powdered sugar, reserved icing, and ½ teaspoon cinnamon. Stop when the mixture holds together.
- Shape and chill
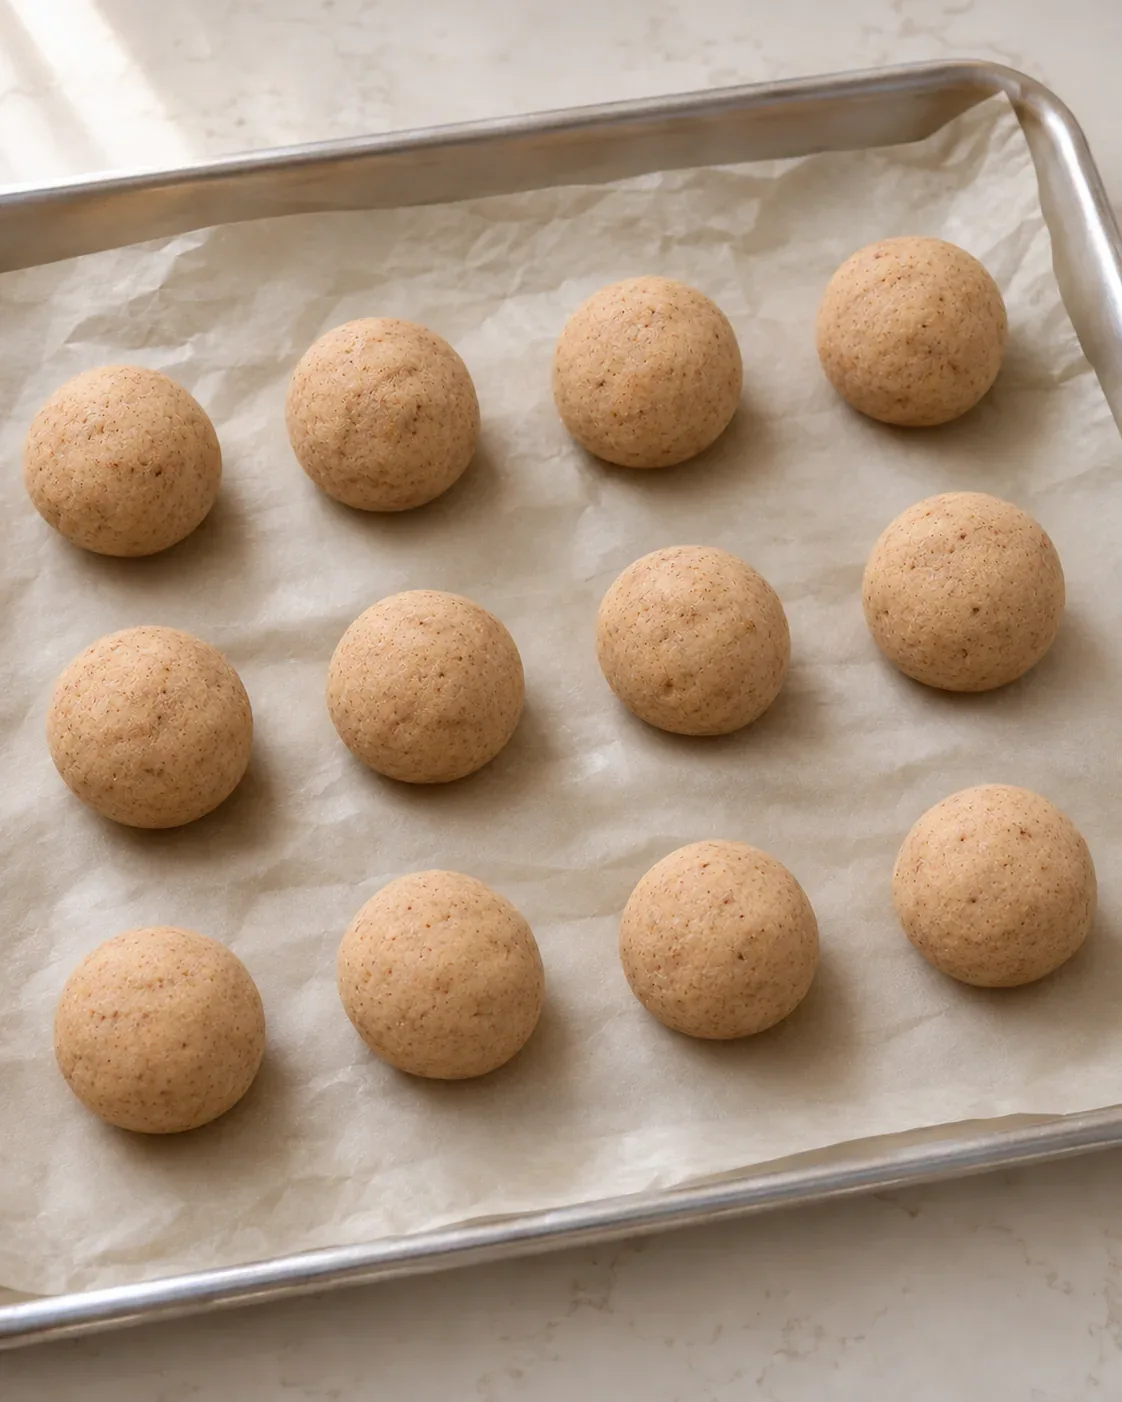
Scoop roughly tablespoon portions and roll into smooth balls. Place on the lined tray. Refrigerate for about 30 minutes, or longer if they still feel soft.
- Melt the coating
Use a clean, dry cup and follow the coating package directions. Stir well. The coating should flow easily but should not be hot. Melt additional coating as needed to keep enough depth for dipping.
- Attach the sticks
Dip about ½ inch of a stick into the coating. Push that end halfway into a chilled ball. Let the small collar of coating firm up before lifting the pop.
- Cover each pop
Lower it into the coating until the center and the spot where it meets the stick are covered. Lift it out and let the extra coating drip away. Place upright in the stand. Work with a few centers at a time, keeping the others refrigerated.
- Add the spiral
Once the shell has set, pipe white coating over it. Melt some extra coating according to its package. Let it cool just enough to hold a thick line, then put it in a piping bag with a round tip. Try a short line on parchment first. If it runs flat, let it cool a little more. If it will not flow, gently rewarm it. Hold a set pop by its stick. Start with a small coil at the top, then widen the circles over the rounded top. Slowly turn the stick and continue piping around the sides, working toward the bottom. Aim for raised coils over most of the pop, with narrow gaps between them. Keep the coating clear of the stick. Lightly dust the still-soft spiral with the remaining cinnamon; you may not need all of it. Let the decoration set, then refrigerate in a covered container.
Storage
- Refrigerate: Once the coating is firm, keep the pops in an airtight container in the refrigerator at 40°F or below for up to four days. Leave space around the raised spirals so they do not rub against one another.
- Serving: Limit total time out of refrigeration, including decorating and serving, to two hours, or one hour when the temperature is above 90°F.
- Freeze before coating: Freeze the centers before adding the coating. Thaw them in the refrigerator, then dip and decorate.
Related Recipes
Protein Dot Cake Cups
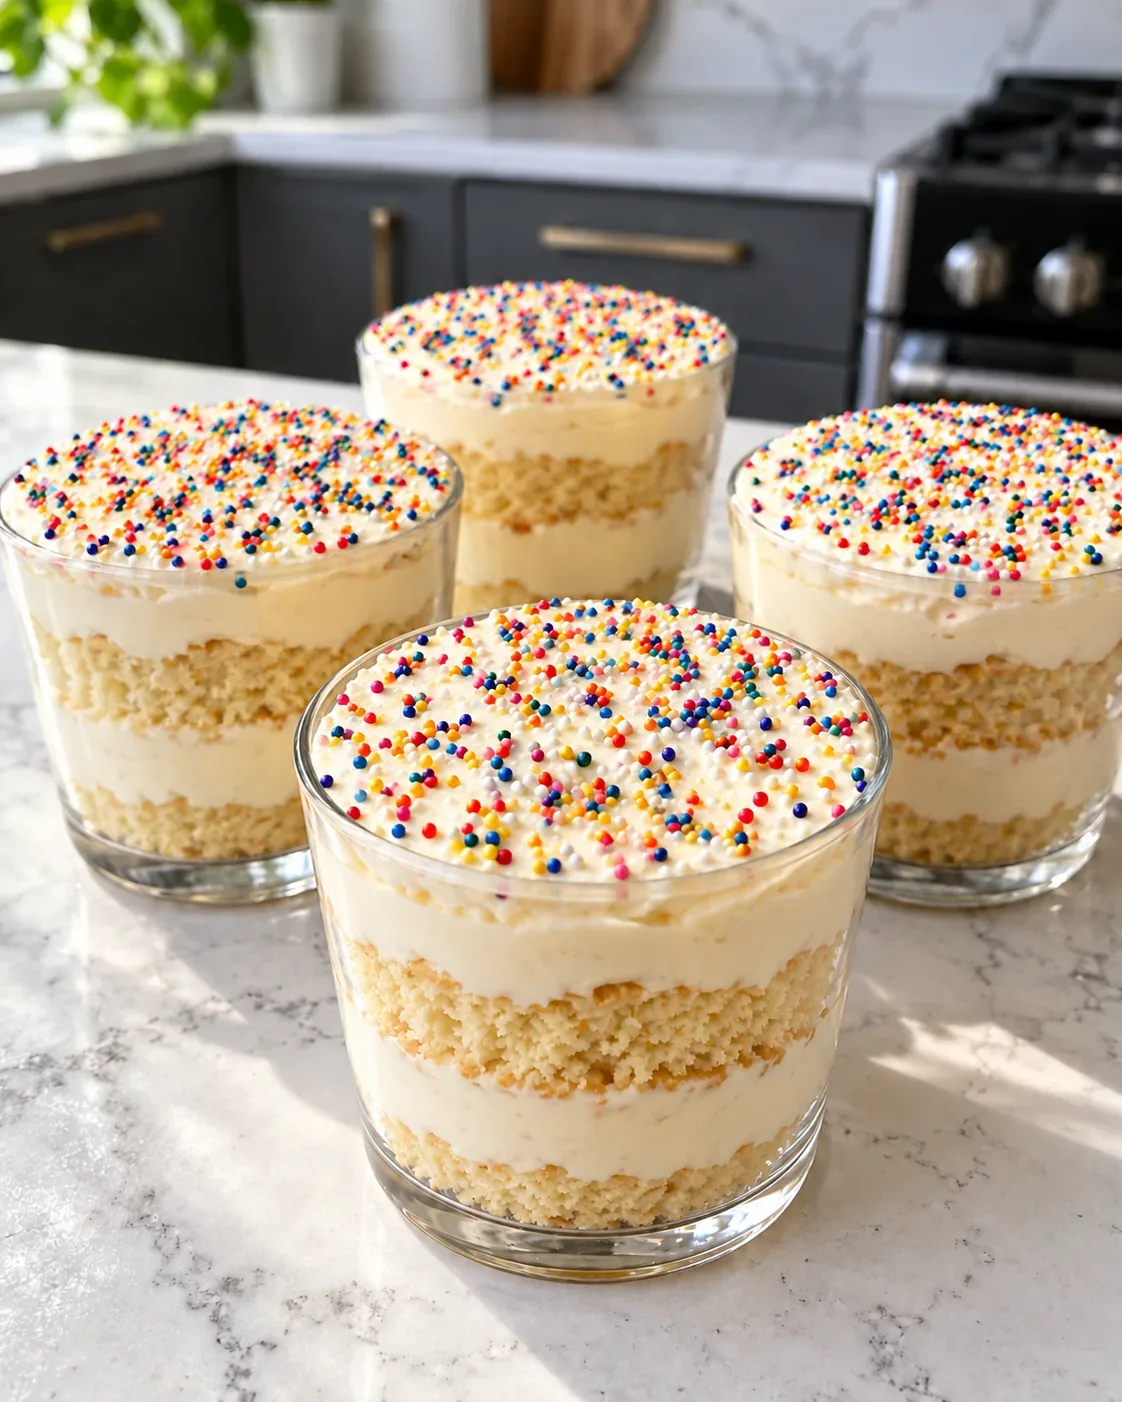
Layered vanilla protein cake cups with tangy Greek yogurt frosting and a crunchy rainbow-sprinkle finish.
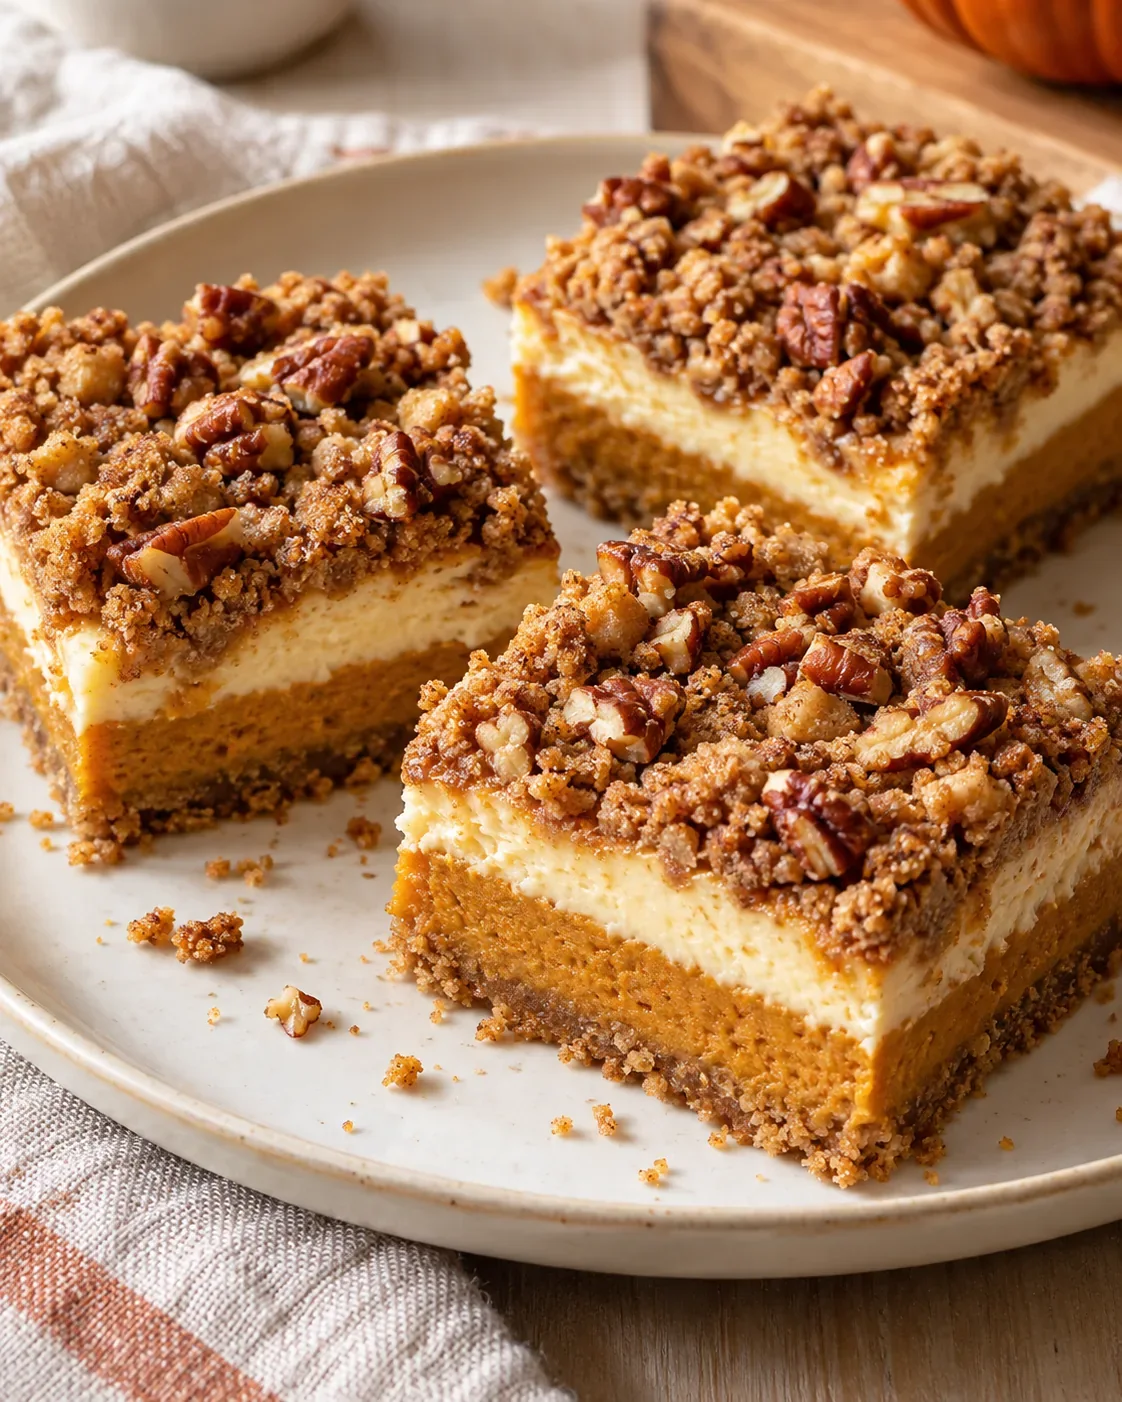
Pumpkin Cheesecake Bars with Crumble Topping
Four-layer pumpkin cheesecake bars with a graham crust and cinnamon crumble, with optional chopped pecans.
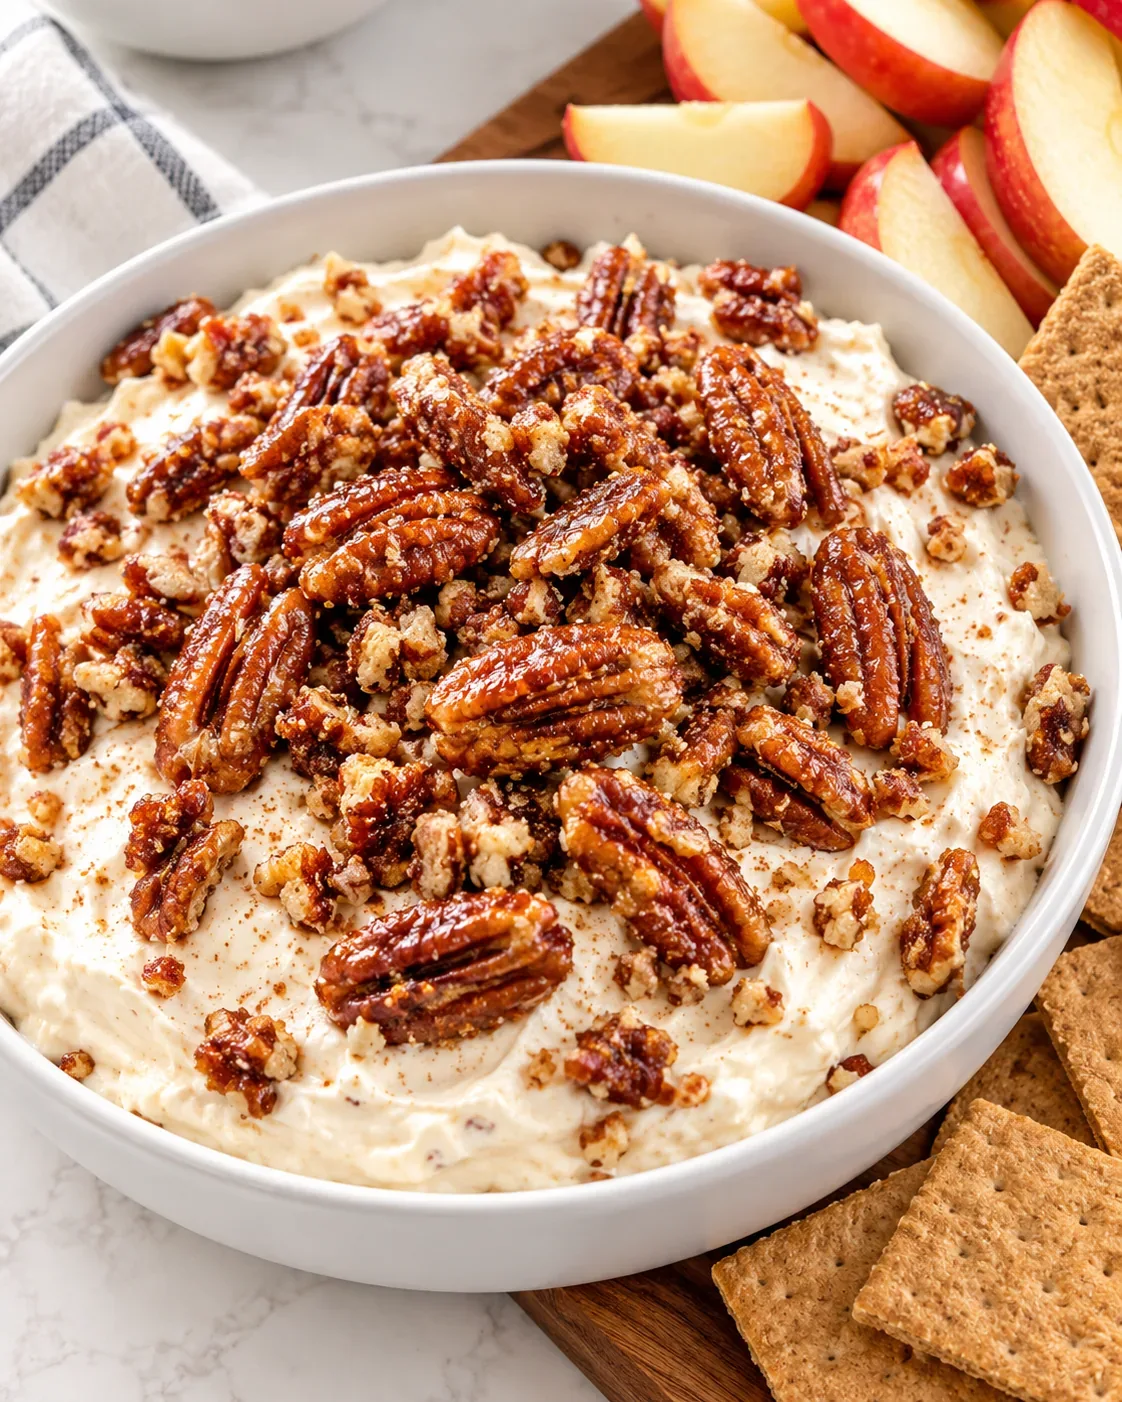
Creamy Candied Pecan Dip
A lightly sweetened cream cheese and yogurt dip topped with crisp cinnamon candied pecans just before serving.