Protein Dot Cake Cups
Protein dot cake cups turn vanilla sprinkle cake into individual layered desserts with a tangy Greek yogurt and cream cheese frosting. This version bakes six small cakes, splits each into two layers, and uses every cake rather than cutting circles from a sheet and leaving scraps. Finish each cup with tiny rainbow nonpareils just before serving for the colorful, crisp top people expect from a dot cake. The recipe is oven-baked and contains sugar and flour; it is not a microwave, low-carb, or sugar-free variation.
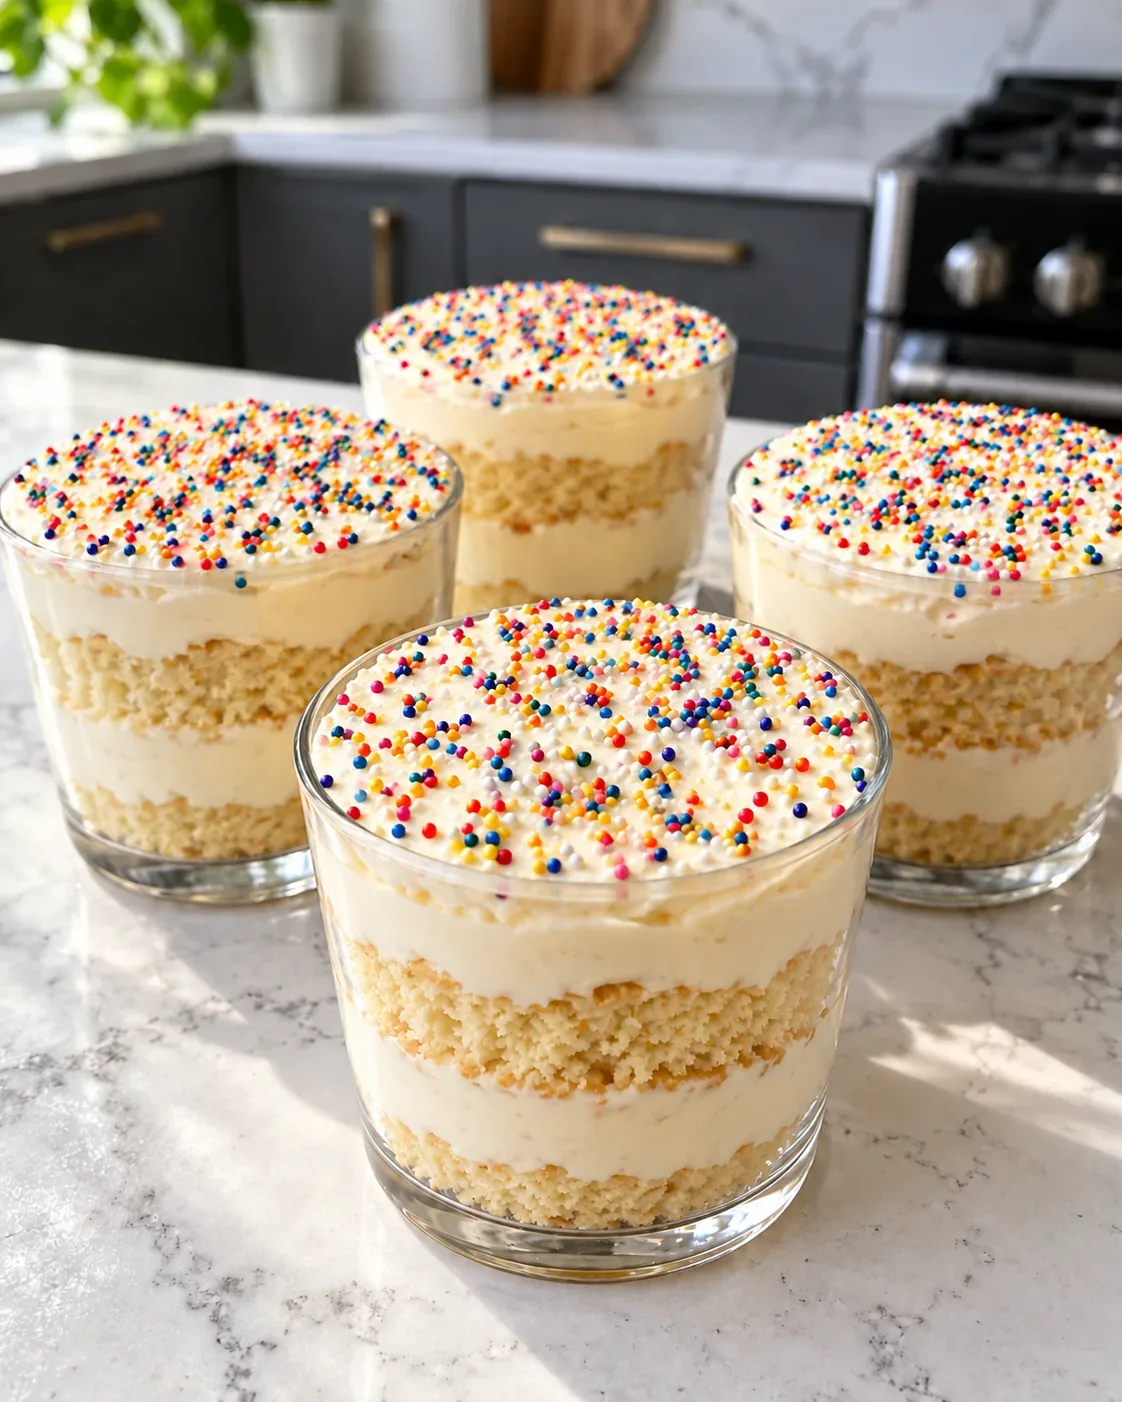
Ingredients for Protein Dot Cake Cups
The cake uses all-purpose flour alongside vanilla whey protein powder, with eggs, Greek yogurt, milk, and a little oil for moisture. Weigh the flour and protein powder if you can: a heaped flour cup or an oversized protein scoop can change the texture. Use long rainbow jimmies in the batter and tiny round nonpareils on top; they play different roles.
For the frosting, start with thick plain 2% Greek yogurt and softened brick cream cheese. A thin, pourable yogurt will not give the same distinct layers. Powdered sugar rounds out the tang, and a smaller amount of vanilla protein powder goes into the frosting. Check your powder label for scoop weight, since scoops are not universal.
Bake and Split the Small Cakes
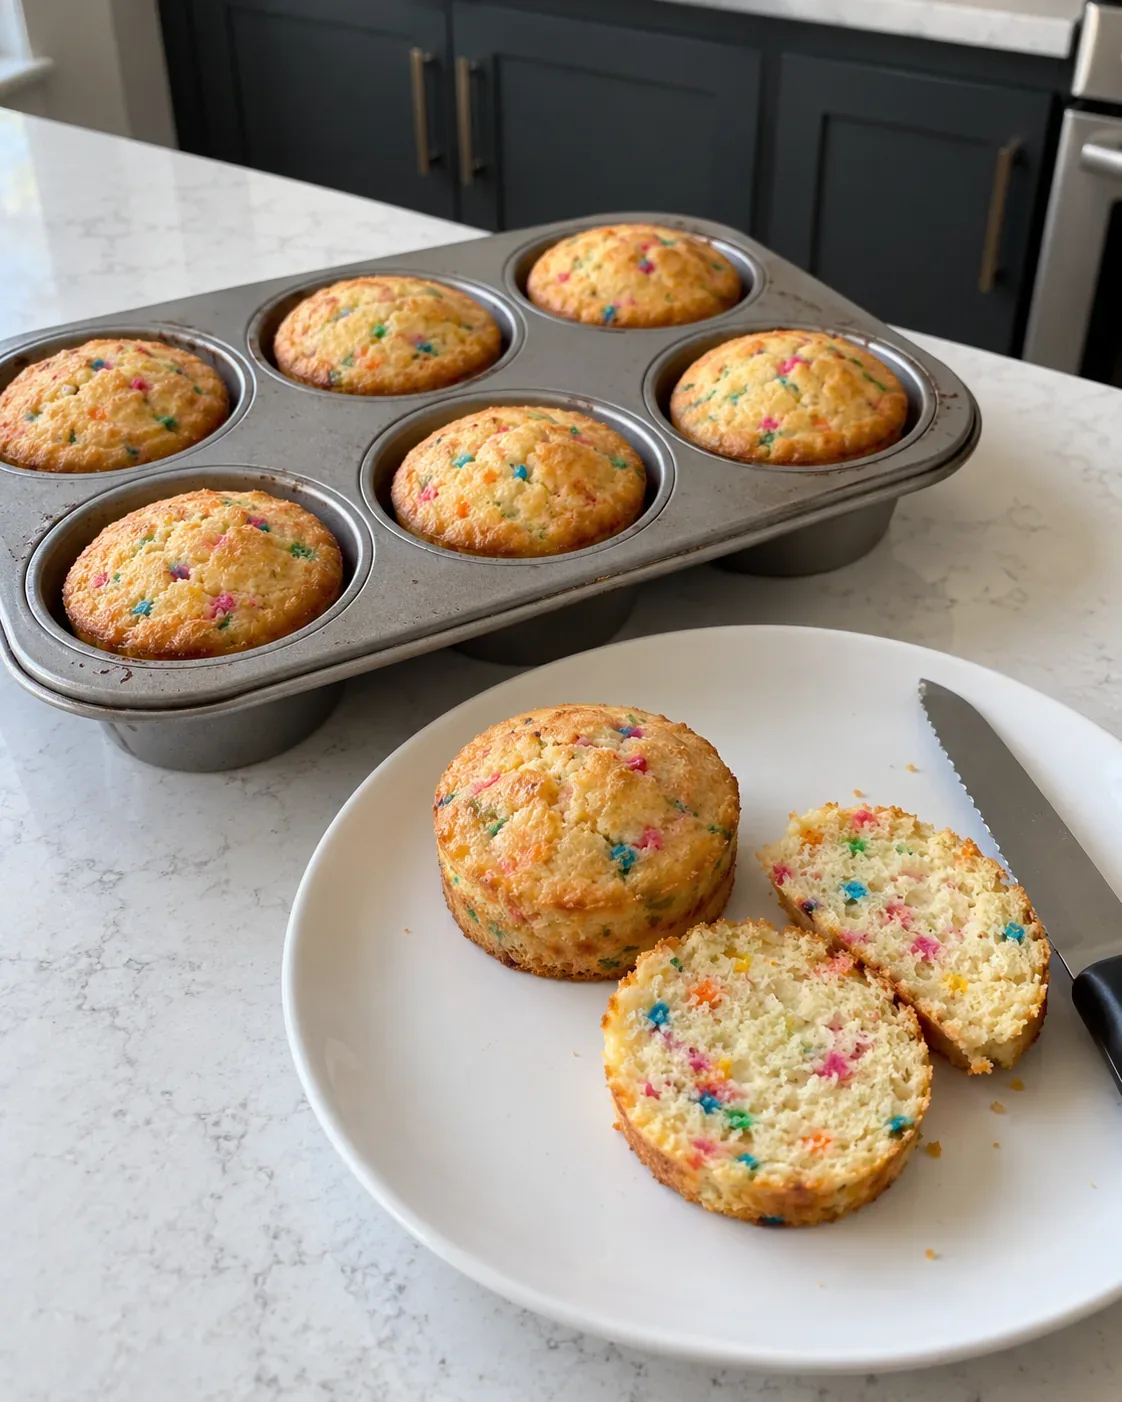
Prepare only six standard muffin wells and divide the batter evenly. Start checking at 18 minutes, then pull the cakes as soon as the centers spring back and a toothpick has no wet batter. Overbaking is an easy way to make a protein-enriched cake feel dry. Let the cakes cool completely before peeling off liners and cutting them horizontally; warm cake tears and warms the frosting.
The round muffin shape fits individual dessert cups without a biscuit cutter or leftover sheet-cake pieces. Use clear, straight-sided 6-ounce cups so the layers show. The cakes should fit without being compressed; if your muffin pan produces unusually wide cakes, choose wider cups rather than forcing them in.
Layer the Frosting and Add the Dot Topping
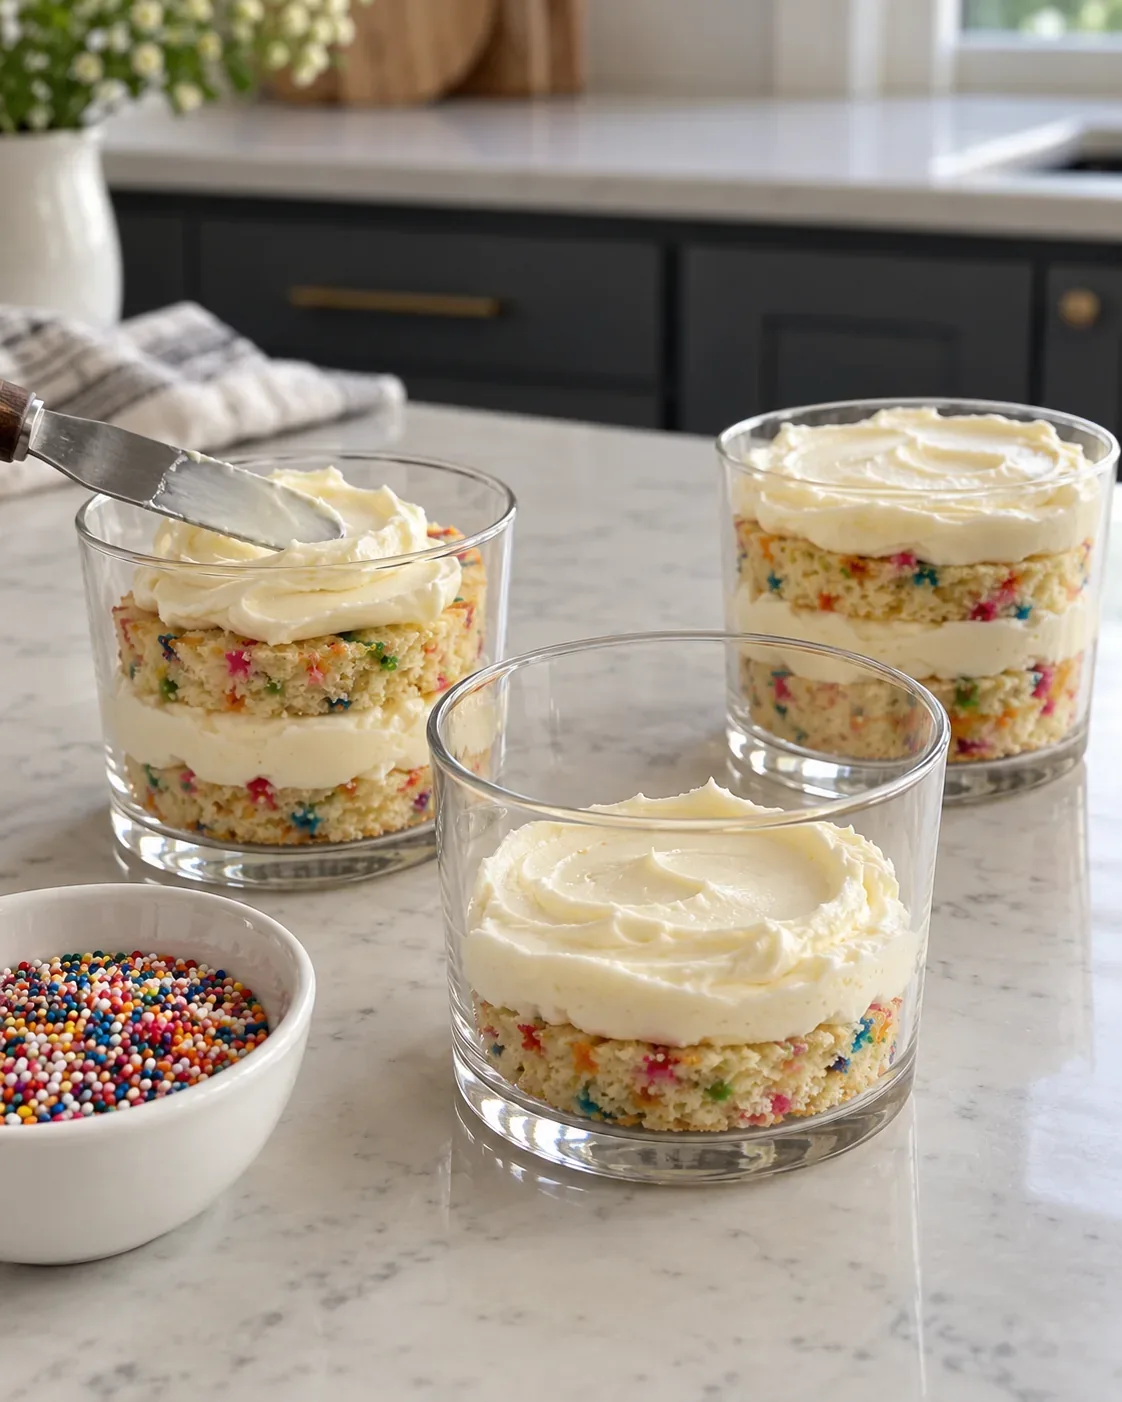
Beat the cream cheese smooth before adding yogurt and the other frosting ingredients. Put one cake half in the bottom of each cup, add a little frosting, then repeat with the top half and the remaining frosting. Dividing all six cakes and all the frosting evenly means each cup has the same intended portion.
Cover the assembled cups and chill them. Add the nonpareils only when you are ready to serve: on a moist frosting they gradually soften, and some colors may bleed. If a cup looks uneven, use the back of a small spoon to smooth its top before sprinkling.
Texture Tips and Sensible Swaps
This formula uses a measured amount of vanilla whey. Protein powders absorb liquid differently, so replacing it gram-for-gram with casein, a plant blend, or collagen may change the batter and frosting. Those versions have not been tested here. The most reliable first bake is with the stated type and weights.
These are sweet dessert cups, despite the added protein. The batter and frosting contain sugar, and the cake contains wheat flour. A sugar-free sweetener, almond flour, or a dairy-free yogurt would create a different recipe rather than a measured swap. For another dairy-based baked snack, try our flourless pumpkin-banana cottage cheese loaf.
Make-Ahead and Storage
Bake the cakes and let them cool before assembling. You can prepare the frosting while the cakes cool, then cover the filled cups and refrigerate them. Hold the nonpareils separately until serving so their color and crunch last longer. No specific multiday texture or freezer-life claim has been established for this exact combination.
Because the cups contain cream cheese and yogurt, keep them refrigerated at 40°F or below. If you take one to work, use an insulated bag with at least two cold sources or put it straight into a refrigerator. Return dairy desserts to cold storage within two hours, or within one hour when the ambient temperature exceeds 90°F.
Protein and Calories per Cup
The portions are defined as one of six complete cake-and-frosting cups. A worksheet using representative US product labels suggests roughly 16 grams of protein per cup, with the exact value changing with the chosen powder, yogurt, cream cheese, and cup size. This is an estimate rather than a lab measurement or a kitchen-tested nutrition panel.
These are not low-calorie cups. A representative ingredient-label worksheet estimates about 350 calories per cup, including the sugar, oil, cream cheese, and sprinkles. The estimate depends on the exact products and even division of the batch, and it is not a lab-tested nutrition panel. For your batch, add the calories on your ingredient labels and divide by six.
Frequently Asked Questions
Can I make these protein dot cake cups in the microwave?
This formulation is baked as six small cakes in a muffin pan. A microwave mug cake needs different proportions and timing; the oven batter has not been tested as a microwave recipe.
Are these cups low carb or sugar free?
No. The cake uses all-purpose flour and granulated sugar, the frosting contains powdered sugar, and the topping is made of sweet sprinkles. Changing those ingredients would require a separate tested recipe.
Can I make them without protein powder?
Not as a direct omission. The powder contributes dry structure to both cake and frosting, so leaving it out changes the balance. Use a standard cake-cup recipe if you do not want protein powder.
Why did my protein cake turn out dry or rubbery?
Too much powder or flour, vigorous mixing, and baking past the point of doneness can all work against a tender crumb. Weigh the powder and flour, stir only until combined, and begin checking the cakes at 18 minutes. Other powder formulations may behave differently.
What is the difference between jimmies and nonpareils here?
The longer rainbow jimmies are folded into the batter. The tiny round nonpareils make the dotted crunchy top and go on immediately before serving; on wet frosting, they eventually soften and can bleed color.
Can I freeze the cups or pack them for lunch?
Freezing quality has not been established for this yogurt and cream cheese frosting. For a packed lunch, keep a covered cup chilled in an insulated bag with at least two cold sources or refrigerate it on arrival, and carry the nonpareils separately.
Serving Ideas
- Serve one chilled 6-ounce cup per person. A spoon is easier than trying to lift the cake layers out of the cup.
Protein Dot Cake Cups
Make protein dot cake cups with small vanilla funfetti cakes, Greek yogurt cream cheese frosting, and rainbow nonpareils. Includes layering, texture, and storage tips.
- Bake the vanilla protein cakes
- 350°F
Ingredients
For the vanilla protein cakes
- 3/4 cup all-purpose flour, 90 g; spooned and leveled
- 30 grams vanilla whey protein powder, about one scoop; check the package
- 1/3 cup granulated sugar
- 1 teaspoon baking powder
- 1/4 teaspoon fine salt
- 2 large eggs
- 1/2 cup plain 2% Greek yogurt, about 113 g
- 1/4 cup 2% milk
- 2 tablespoons neutral oil
- 1 teaspoon vanilla extract
- 1 tablespoon rainbow jimmies
For the frosting
- 3/4 cup plain 2% Greek yogurt, about 170 g; thick, strained style
- 4 ounces full-fat brick cream cheese, softened
- 15 grams vanilla whey protein powder, about half a scoop
- 2 tablespoons powdered sugar
- 1/2 teaspoon vanilla extract
For the topping
- 1/4 cup rainbow nonpareils, add just before serving
Instructions
- Prepare the pan
Heat the oven to 350°F. Line or grease six wells of a standard muffin pan. Set out six clear 6-ounce dessert cups with lids or covers.
- Mix the cake batter
Whisk the flour, 30 g protein powder, sugar, baking powder, and salt in a bowl. In another bowl, whisk the eggs, 1/2 cup yogurt, milk, oil, and 1 teaspoon vanilla. Stir wet into dry just until no dry flour remains; fold in the tablespoon of rainbow jimmies. Divide evenly among the six prepared wells.
- Bake and cool
Bake at 350°F, beginning to check at 18 minutes. Remove when the tops spring back lightly and a toothpick inserted in a center cake comes out without wet batter; allow roughly 18–22 minutes, using the doneness cues over the clock. Cool in the pan briefly, then on a rack until completely cool.
- Make the frosting
Beat the softened cream cheese until smooth. Beat in the 3/4 cup thick Greek yogurt, 15 g protein powder, powdered sugar, and 1/2 teaspoon vanilla until evenly blended. Cover and refrigerate while the cakes cool. If your yogurt is loose, the frosting may not hold distinct layers; use a thick strained yogurt.
- Split and layer
Remove the paper liners, if used. Slice each fully cooled cake horizontally into two layers. Place a bottom layer in each 6-ounce cup, add half of that cup's allotted frosting, then add the top cake layer and the remaining frosting. Divide all six cakes and all the frosting evenly among the six cups.
- Finish and chill
Cover and refrigerate the cups until serving. Sprinkle the 1/4 cup nonpareils evenly over the six cups immediately before eating so they stay crisp and limit color bleeding. Serve chilled.
Storage
- Refrigerate assembled cups: Cover and refrigerate promptly at 40°F or below because the frosting contains cream cheese and yogurt. Keep cold during transport; do not leave out longer than two hours, or one hour above 90°F. Add nonpareils at serving time for the best crunch. An exact leftover life and freezing quality have not been established for this combined formula.
Related Recipes
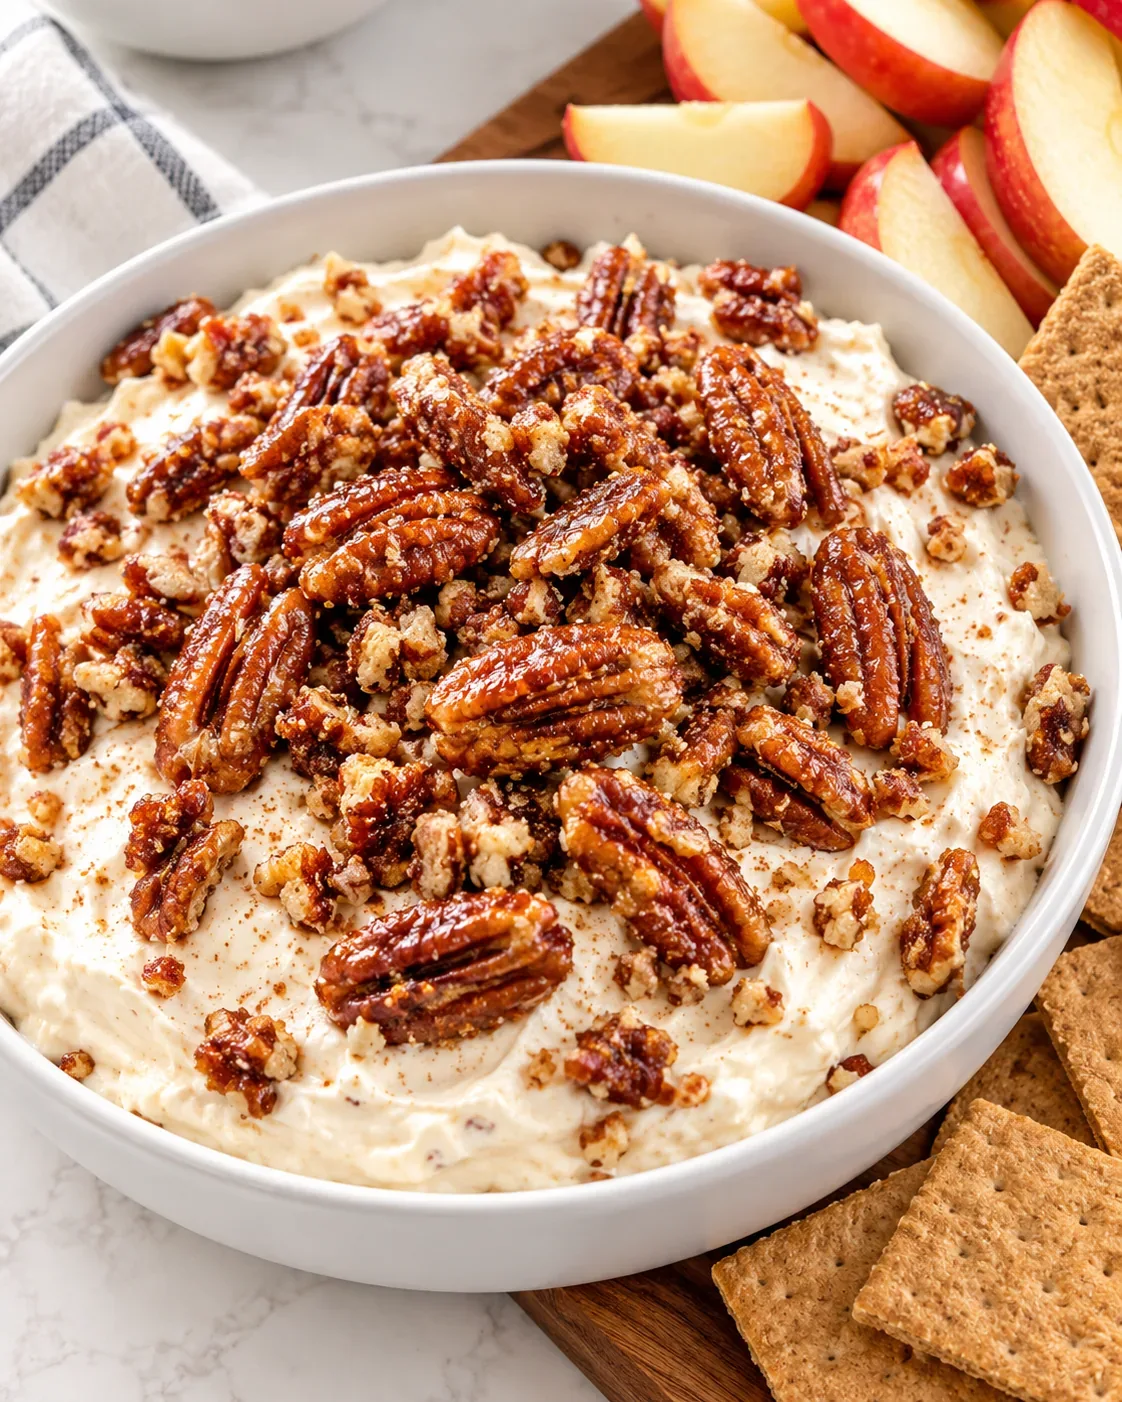
Creamy Candied Pecan Dip
A lightly sweetened cream cheese and yogurt dip topped with crisp cinnamon candied pecans just before serving.
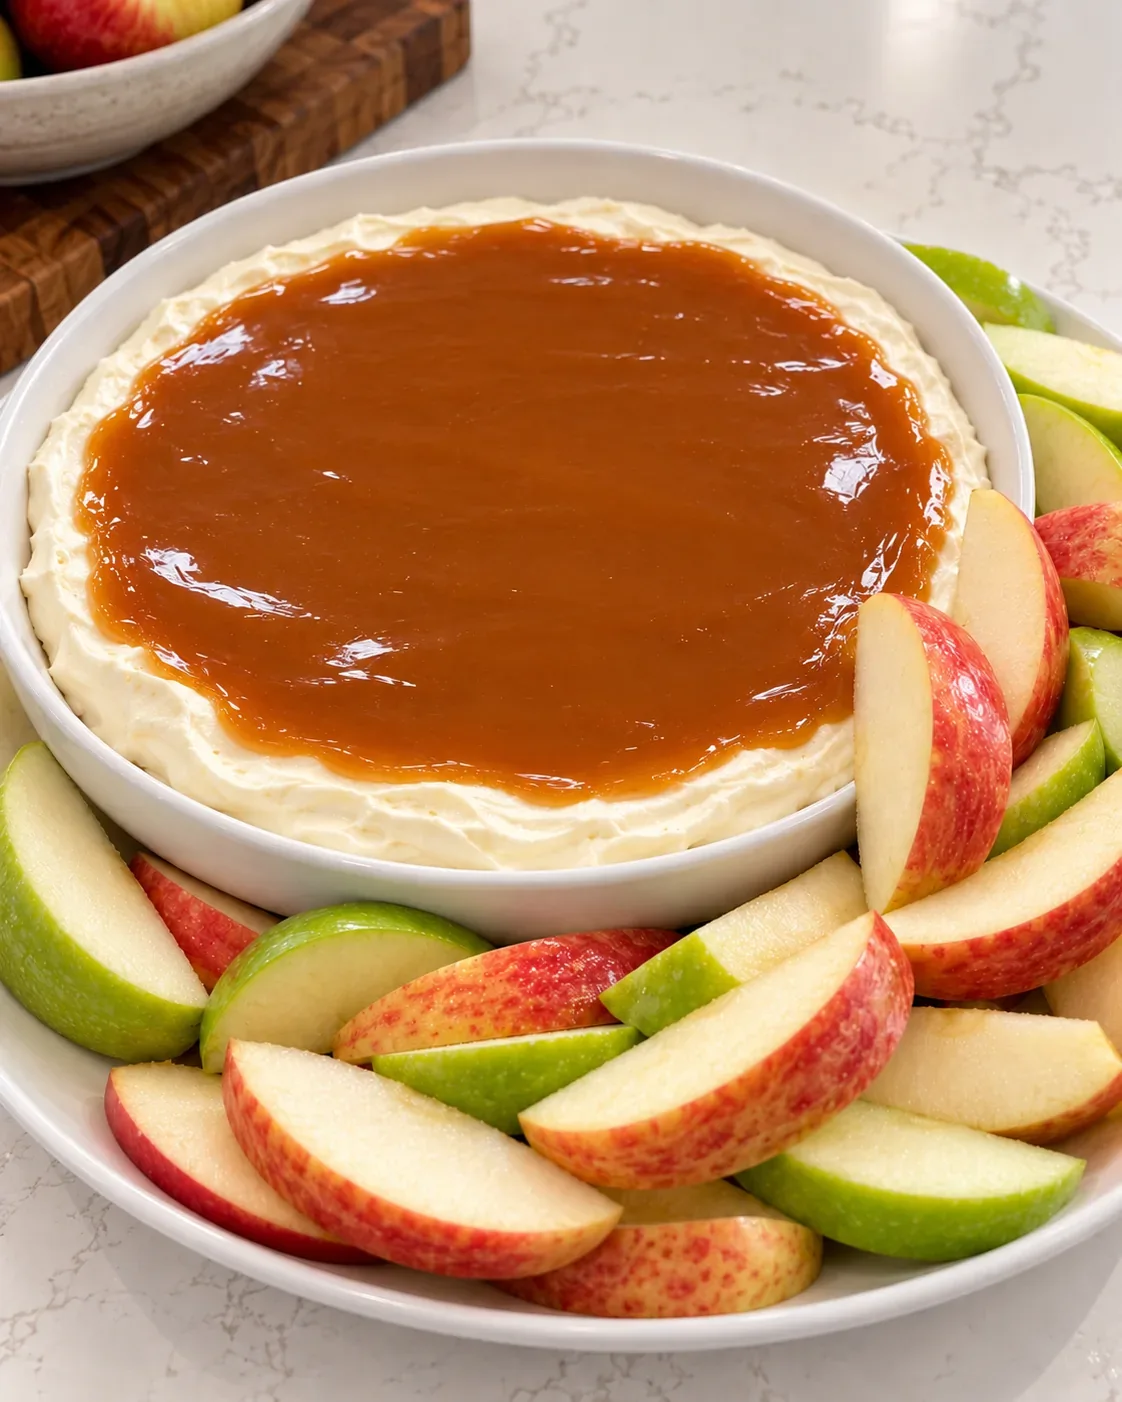
Cream Cheese Caramel Apple Dip
A layered no-bake dip with a lightly sweetened cream cheese base and a thick caramel topping, served with crisp apple slices.
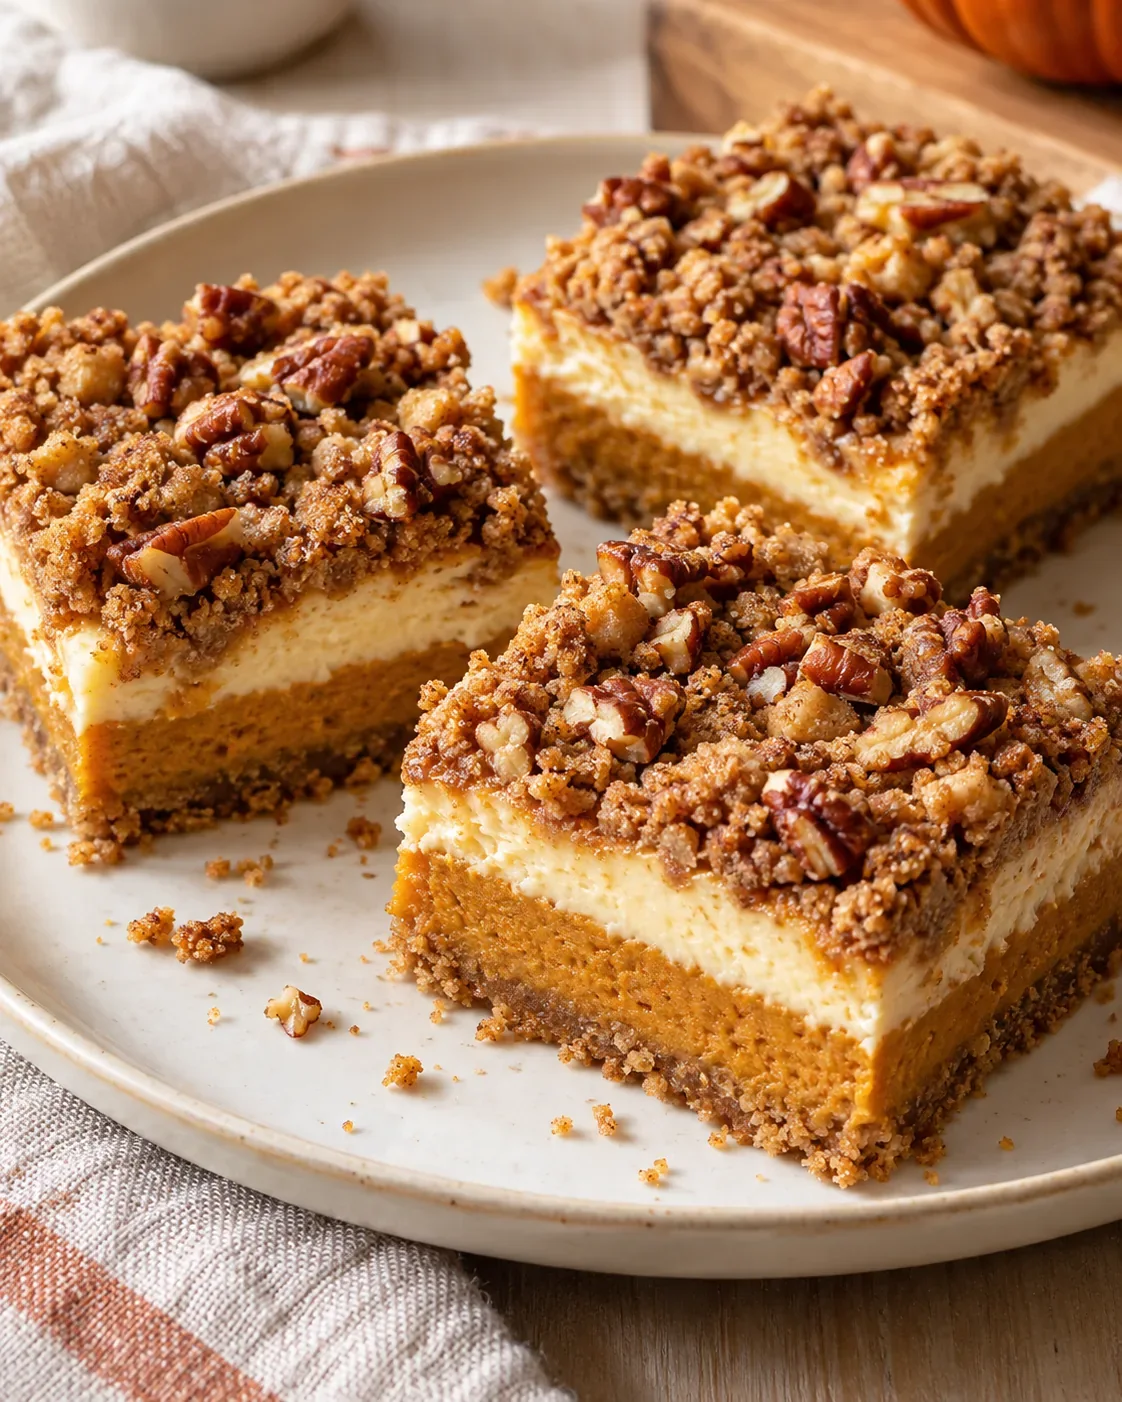
Pumpkin Cheesecake Bars with Crumble Topping
Four-layer pumpkin cheesecake bars with a graham crust and cinnamon crumble, with optional chopped pecans.